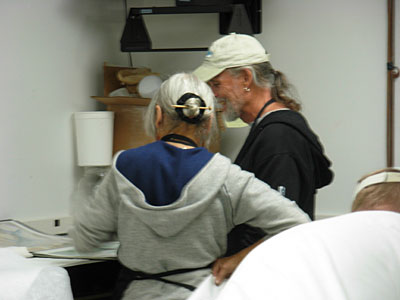
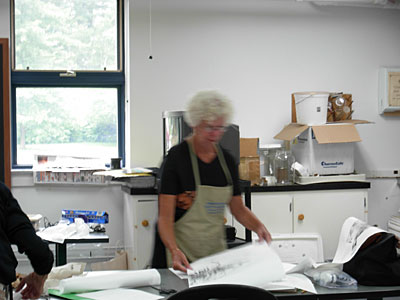
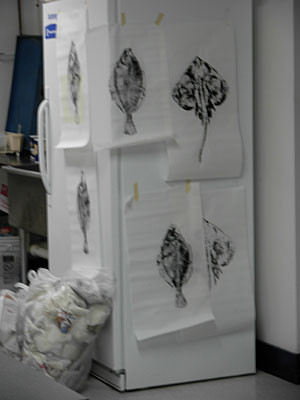
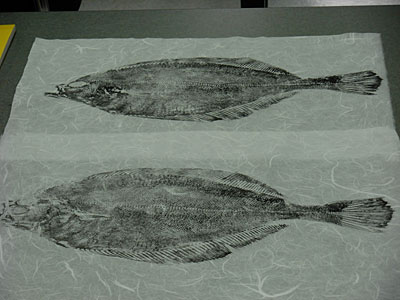
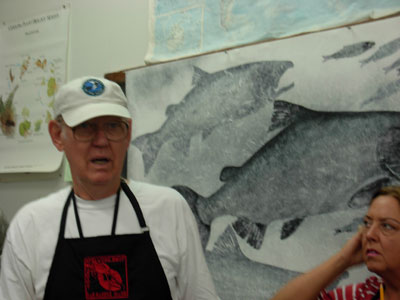
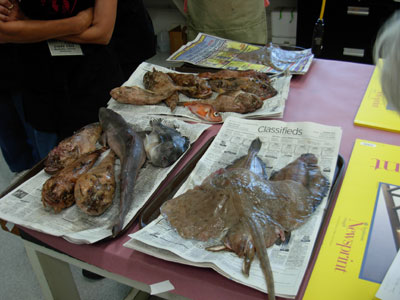
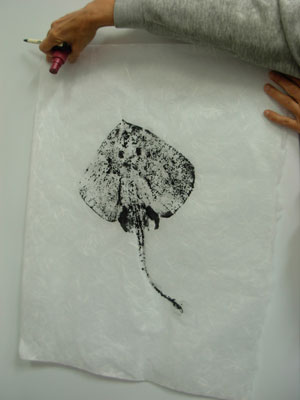
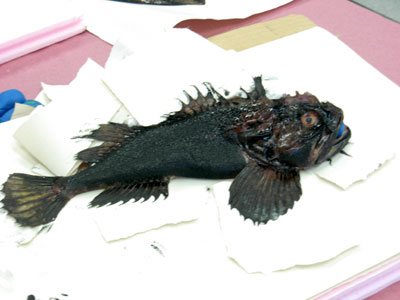
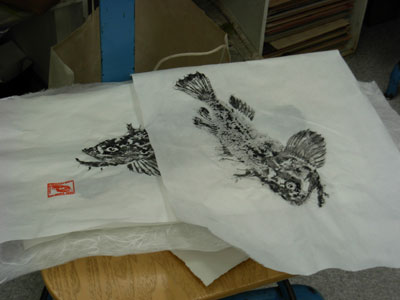
My class on Tuesday was indirect fish printing with Mineo Yamamoto, an expert in Japanese fish printing. Mineo was at the Nature Printing Society conference that we went to two years ago. On Monday he had given a class here on printing a crab —
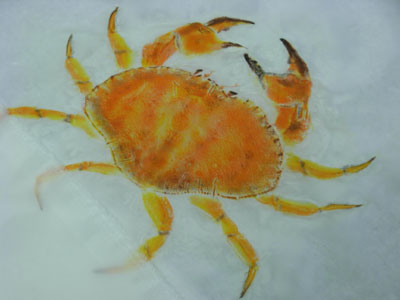
— that’s one of the results of that class.
Mineo is a central attraction of the NPS conferences. He’s a very extroverted character, not at all shy about promoting himself. His work is amazingly gorgeous.
Indirect printing means you’re not applying ink to the item you’re printing, but on the side of the paper or cloth away from the subject. It’s kind of like a gravestone rubbing.
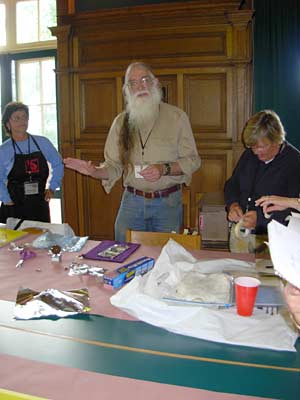
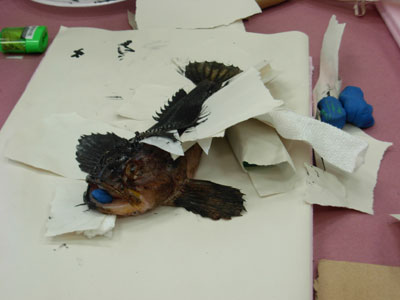
Let’s see. First, we had to dig a well for the fish out of a sheet of pink styrofoam (the kind Home Depot sells for building insulation). We spread the the fins and tail out to the position we wanted them to print in and glued them down to the styrofoam. I had to support one fin on a couple of chunks of the styrofoam that I cut out of a corner of the block.
Next, we painted the top of the fish with a thin glue (I think it was methyl cellulose) and patted the sheet of polyester cloth that we were going to print on down on it, working from the highest part of the fish and smoothing it down carefully in all directions from there. I started printing too soon — that glue needed to be dried with a hair dryer before going on. The idea was to keep the cloth from shifting on the fish before the print was finished. Then we covered the fish’s eye with a circle of masking tape. The eye doesn’t get printed, but is painted on later.
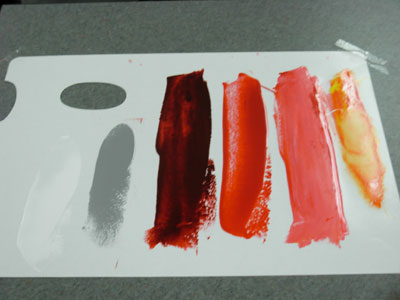
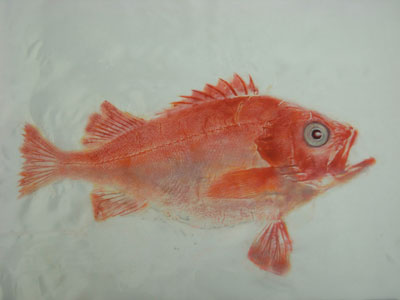
Mineo set up a palette for each student’s fish. Mine was an orange rockfish. Mineo said that if he were printing that fish he would use about twelve colors, but that as a beginner I should work with six. He squeezed out and mixed up orange, pink, red, red-brown, silver, and white for me, and told me where they went: all over, all over, shoulder, shoulder, belly, belly.
The ink gets applied with tampos, dabbers made on a (round Japanese) toothpick with a cotton core and silk cover. You ink the tampo very lightly and test it on newsprint. If you get anything like a solid blob of color there’s too much ink, and you have to stamp it out until there’s just a slight cloud of color. You use a separate tampo, or maybe one large one and one small one, for each color of ink.
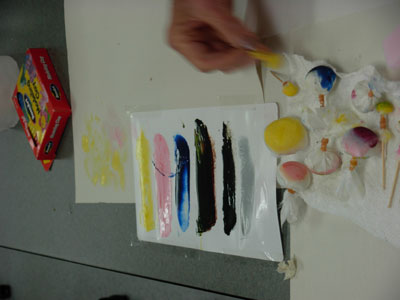
Mineo recommends stamping about forty dabs in each spot and moving slowly and steadily along the print. That’s a lot of repetitive motion for one print, and maybe more than I have patience for. I looked at what one experienced indirect printer was doing. She was getting much better definition of the scale texture than I was. She said it was because she was doing it the way Mineo says to, with lots and lots of dabs of a very dry tampo. There are layers and layers of color in each spot. You might think that only the last color of ink on a given spot matters, but because of the airbrush-like ink pattern that each dab gives, all the colors contribute to a very live surface.
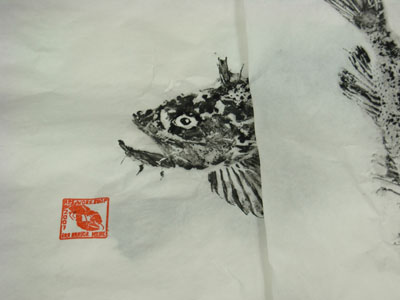
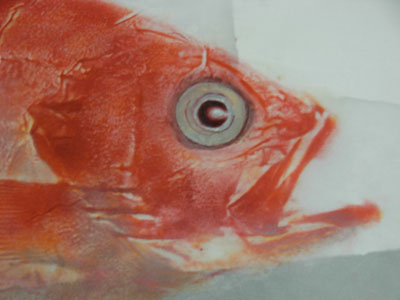
After we all had been working on our prints for several hours, Mineo demonstrated how to do an eye. He uses all the same colors of ink that the fish is printed in, painting with a number 0 round brush. That means tiny, bristles a quarter of an inch long and brush a thirtysecond of an inch in diameter at the widest part. Like the fish body, the eye is done in layers of color, taking care to leave highlights blank and to shade other parts.
To sum up, here’s my finished print:
… and a closeup of its eye…
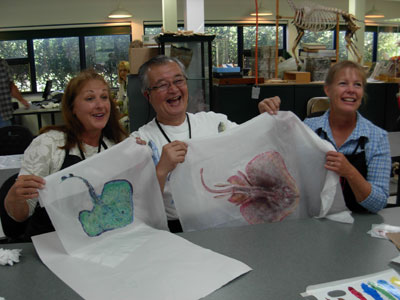
… and Mineo with two other participants and their prints:
