My last workshop at the Nature Printing Society conference was on foilography. It’s a printing method that uses a piece of aluminum foil pressed over some object as its plate. Our instructor and the inventor of the technique, Charles Morgan, has a long writeup of it as a PDF that you can download. The big advantage of it over direct nature printing is that the subject is protected under the foil, so the ink never touches it. That makes it possible to get prints from things that you don’t want to damage and multiple prints of things that wouldn’t stand up to repeated inking. Or subjects that you couldn’t ink, like dust bunnies.
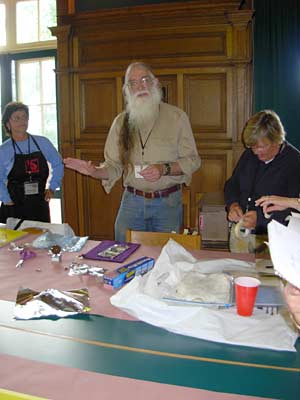
Here’s Morgan (you can call him Herr Doktor Professor Morgan if you want; he has multiple advanced degrees) talking to us:
To make a foilography plate, you essentially put your subject on a piece of aluminum foil (foil shiny side up on a soft surface like a piece of felt, subject more texture side down on top of the foil — that is, for leaves, vein side of the leaf against the foil), put a piece of plexiglas (all corners and edges beveled and smoothed, no sharp corners) on top of that, wrap the foil around the bottom of the plexi and tape it down, and press the foil flat. If you have an etching press, that’s the best way to press it all flat. If you don’t, you can put the plexi-subject-foil sandwich down (subject on top side of the plexi), put a couple of pieces of felt over it, and run it over with a rolling pin and lots of pressure.
Here’s a foilography plate of a dragonfly, made in the etching press by Laurie, in the pink top in a previous post. This is her second attempt at this dragonfly; dragonfly innards messed up the first plate and were cleaned up in between. To me, the possibility of making multiple prints of a dragonfly (or other insect wings) is the biggest attraction of foilography. I got one print of a dragonfly wing two years ago, but it crumbled before I could ink a second time. With this process, you’re inking the foil, which is relatively substantial.
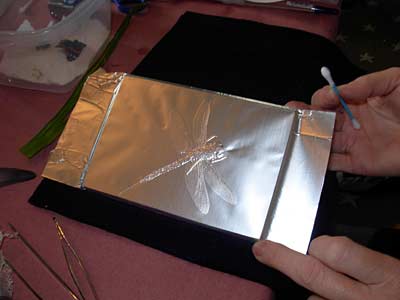
Does it print? Gorgeously.
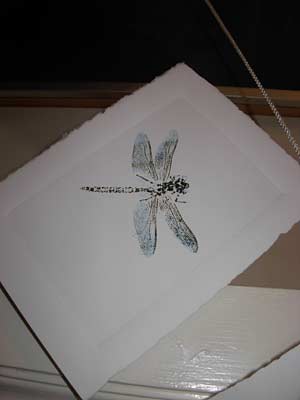
This is only one of several prints from the plate. I don’t want to say it’s easy to get a foil plate inked evenly without getting ink on the background (which you can clean up with a Q-tip before printing), but it’s possible. Read that PDF, or take a workshop yourself, to learn several methods. For subjects as thin as a thin leaf, protecting the background with a mask cut from overhead transparency film works well. I tried a beech leaf first and got a good print on the first try. My next plate was two small feathers. The thin edges of the feathers were so thin that I couldn’t get the edge inked cleanly. The plate looked better than any of my prints. Maybe with more patience I could have done better.
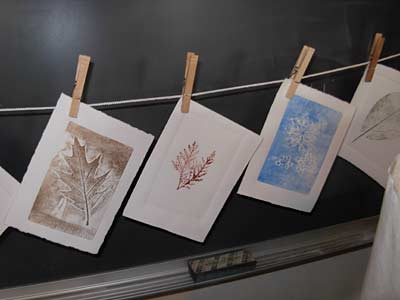
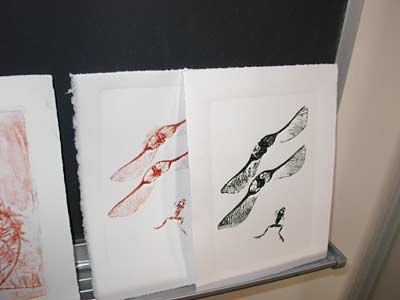
Here are some other prints from the workshop drying. Yes, that’s a tiny frog in the bottom picture.
What a very nice description. I just taught the technique to a friend of mine who wants to print a butterfly. He has made the plate, but we have not yet printed it. He took my notes home to read, and found this blog on line and sent me the link. Thanks for your kind words, and good luck with your printmaking.
Cheers … Charles